Now that Fall is upon us, it is the perfect time to break out those favorite seasonal recipes of yours, from juicy stews and roasts, roasted Fall vegetables and all the crumbly desserts you can think of. There’s nothing like the feeling of cooking up these hot and delicious meals with your family and friends to enjoy on a cool, Fall day. And when you have one of our nifty kitchen appliances, you’re able to spend even more time with your loved ones. Our products are easy to use no matter what you’re making in them. Their set it and forget it method will be a time saver and their versatility allows you to make a wide range of meals in them.
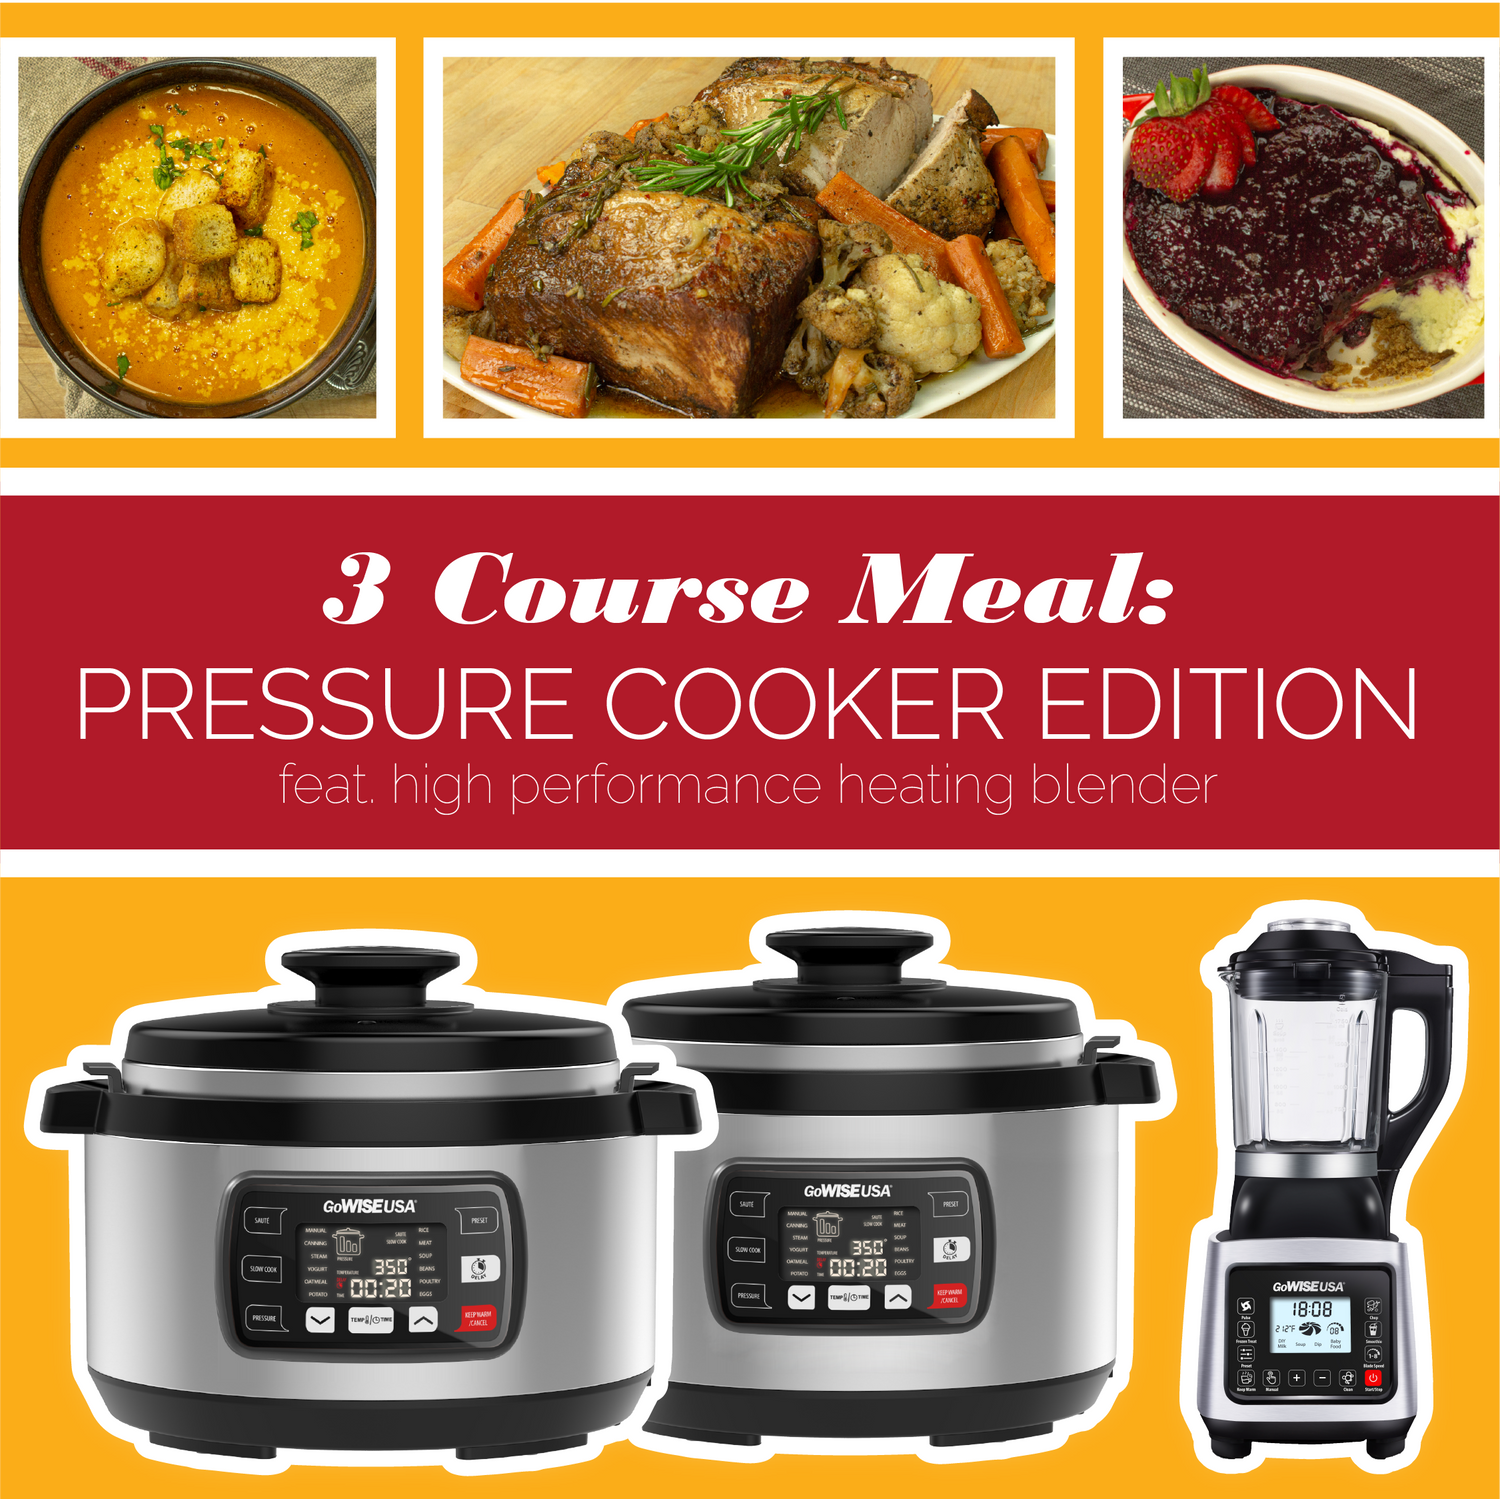
For this Fall inspired meal, we utilized our Ovate Pressure Cooker to create a 3 course meal. Pressure Cookers grand sizes make them large enough to make food for several people or if you need to make more than one meal for yourself. They’re great because you just throw your preferred ingredients inside the pot, set it and forget it. This is how pressure cooking works - it is a sealed pot with a valve that controls the steam pressure inside. While the pot heats up, the liquid forms steam, which builds up pressure inside. You can use the preset programs on these appliances or set your own time and temperature and make various things from yogurt or oatmeal to meats, veggies, soups and more!
We didn’t stop there and also took advantage of our Heating Blender. Blenders are great for whipping up your favorite smoothies, sauces and dips. The same concept that applies to our Pressure Cookers, applies here too. Just throw all of your tasty ingredients inside, set it and watch as you get a smooth and creamy consistency. Our Heating Blender is a little more special, because it allows you do both – cook and blend all in one! You can also enjoy its adjustable speed control to blend to your desired consistencies and crush, dice, slice and chop any ingredient. If you’re a fan of preset programs, then you can also enjoy them on this appliance as well, to create frozen treats, smoothies, DIY milk, soups, dips and baby food!
From all of the fantastic benefits of our Pressure Cookers and Blenders, you can see why it was a no brainer to utilize the two for our 3 course meal. Follow along below as we show you just how we used the two to create an appetizer, entrée and dessert!
Tomato Artichoke Soup

The Heated Blender was perfect for this recipe, because it takes away the hassle of needing multiple appliances and you just throw your ingredients in, blend and done! We opted for a light soup, because we had a heavier main course and a dessert to eat too! The Soup preset was ideal, because it heats up your contents until it reaches a boil and then will drop them to a simmer. Make this soup a healthier option and utilize a dairy free substitute for the milk and butter. Adding some roasted red peppers to the mix would work well with this too. We topped this soup with parmesan cheese, parsley and croutons, but feel free to add your own desired toppings. This dish can be eaten by itself or pair it with a healthy salad, crunchy sandwich or juicy meat entrée like we did!
Ingredients:
28 oz. can fire-roasted diced tomatoes
15 oz. can artichokes
1 cup water
1 cup milk
2 tbsp butter
1 large onion
1 garlic clove
3 bay leaves
½ tsp oregano
1 tsp basil
desired toppings: parmesan cheese, parsley and croutons
Directions:
Add the butter, chopped onion and garlic to the blender. Secure the lid, select the Soup preset and press start.
Remove the cap and cook until the onions are translucent. Replace the cap periodically and press the chop button to mix ingredients and prevent them from scorching.
Stop the preset and add artichokes, tomatoes, water, oregano and basil. Blend together on low. Then, add in the bay leaves, secure the lid and select the Soup preset again. Press start and let simmer for 10 minutes. Stop the preset to remove the bay leaves and begin blending on low. Increase the speed and blend until smooth.
Add in the milk and continue to blend. Select the Soup preset again to bring heat back up to desired temperature for serving. Garnish with Parmesan cheese, parsley and croutons and serve immediately!
Pork Roast

Using a Pressure Cooker for any type of meat is great because it stays nice and juicy and will cook it mighty quick. Searing the meat before pressure cooking is ideal to achieve that caramelized texture and flavor. This is the perfect fall recipe because pork is easy to work with and dress up to create a fancier dinner meal with the right potatoes, veggies, and herbs If you aren’t fond of pork, then take advantage of another meat, such as chicken, turkey or lamb. We utilized carrots and cauliflower as our veggies of choice, but feel free to use whatever veggies you would like. Other veggies that would complement a roast nicely are celery, mushrooms, and onions. We used rosemary as our herb of choice, but you could also use tarragon, thyme or fresh lemons for a citrus flavor! You can throw your veggies in with the meat and don’t need to worry about them getting mushy, they stay just as juicy. If you have leftover meat, then turn it into french dip sandwiches, carnitas, sliders or freeze it for another Fall day!
Ingredients:
4-5 lb. pork roast, cut in half
2 tbsp oil
rosemary, for garnish
Sauce:
2 cups chicken broth
1 cup balsamic vinegar
2 tbsp Worcestershire sauce
2 tbsp Tamari sauce
2 tbsp raw honey
¼ fresh rosemary, chopped
½ tsp red pepper flakes
4 garlic cloves, minced
salt and pepper to taste
Veggies:
1 lb. carrots, diced
½ head of cauliflower, diced
Directions:
Using the Sauté feature, heat up the 2 tablespoons of oil and sear your pork for about 1 minute on each side. Sear one half of the pork roast at a time if desired.
Place your carrots and cauliflower in the inner pot with the pork roast.
In a medium mixing bowl, combine the sauce ingredients and whisk to combine. Pour the liquid mixture over your pork roast and veggies and close the lid. Use the Meat setting and cook for 20 minutes.
When it is done cooking, naturally depressurize for 10 minutes. Remove the pork and slice. Top with your veggies, garnish with extra rosemary if desired and enjoy!
Whipped Cheesecake

We utilized the Heating Blender to make the crust and berry compote and the Pressure Cooker for the cheesecake. This light and fluffy dessert was the perfect end to this 3 course meal. 1 pound of cream cheese is an equivalent to 2 - 8 oz. packages. We recommend leaving the cream cheese out at room temperature 1 hour prior to using it in order to soften it. If you’re pressed for time, you could also heat it in the microwave for 20-30 seconds. We used ramekins to create mini cheesecake desserts, but feel free to use whatever oven safe pan you desire! Remember to grease your pan with cooking spray, butter or shortening to ensure the bottom won’t stick or burn. Don’t forget to add water to your Pressure Cooker, so your dessert will cook correctly. We utilized a berry compote for this, because berries are sweet, tart and loaded with tons of antioxidants. Feel free to use whatever fruit or berries you desire for the compote or an entirely different topping of your choice! The original recipe called for add ons, such as cinnamon, ginger, sugar and chia seeds. We wanted to keep our compote simple, so we omitted those ingredients, but go ahead and add them to the mix. Other yummy fillings you could use are key lime, blackberry lemon or a creamy chocolate. Top this cheesecake dessert with fresh strawberries and extra graham crackers!
Ingredients:
Crust:
¾ cup graham cracker crumbs
2 tbsp melted butter
Cheesecake Filling:
1 lb. regular cream cheese, softened
2/3 cup sugar
2 large eggs
½ tsp vanilla extract
¼ cup sour cream
Berry Compote Topping:
2 cups berries, fresh or frozen
2 tbsp orange juice
Directions:
Spray oven safe ramekins with nonstick cooking spray.
Using the Heating Blender, crush the graham crackers and melted butter until fine.
Spread evenly across the bottom of your ramekins and pack down, pushing the graham crackers up the sides a little. Wash blender of graham cracker crumbs.
Using the blender again, place the cream cheese, sugar, eggs, vanilla and sour cream in there and blend for 1 minute, or until smooth. Pour the cheesecake mixture into your oven safe ramekins. Cover with aluminum foil and fold around the edges to seal.
Using your Pressure Cooker, pour 2 cups of water into the inner pot and add in the cooking rack. Set your ramekins on the rack. Lock the lid and use the Manual setting to cook on high pressure for 35 minutes.
While you are waiting for your cheesecake to cook, prepare your berry compote.
Place the berries and orange juice in the blender. Use the Soup setting until the berries and orange juice are starting to melt. Then, use the Chop function 3 times to chop the ingredients up a bit. Continue on the Soup setting for 10 minutes, until simmering. Once done simmering, let cool to room temperature and then place in the refrigerator for at least 2 hours.
Once your cheesecake is done cooking, safely remove the ramekins from the Pressure Cooker. Remove the foil and run a knife around the rim of the ramekins to loosen the cheesecake from the sides. Cool the ramekins at room temperature for 1 hour and then in the refrigerator for at least 2 hours.
Before serving, pour the berry compote topping on the cheesecake. Top with fresh strawberries and enjoy!
Fall can be a busy time with hectic schedules, spending time with family and friends and finding the time to cook up all of your favorite seasonal recipes too! It can be overwhelming, so let us help you make your time in the kitchen a little easier – and more fun! All of our products are simple enough to learn how to use and so universal, you can make a wide variety of things. They are perfect for 3 course meals, holiday parties and more – just throw your ingredients in, press your desired preset or button and watch as everyone’s amazed by your speedy cooking. Pressure Cookers are awesome for cooking large amounts of foods, such as seared pieces of meat, steaming vegetables, slow cooked soups and baked desserts and they will be ready in minutes! Our Blenders aren’t just for your everyday smoothies, you can utilize them to whip up your favorite sizzling soups, creamy dips and chilled treats! They are simple enough to use as well, just toss your ingredients in and let the blending do the rest. No matter what you are making this fall season, we can assure you that our products will help you create all of your desired recipes in no time, giving you more time to spend with your loved ones.
If you need more recipe ideas, enjoy our included recipe book with easy to follow steps and check out another pressure cooker staple of ours, Tomato Oxtail Soup. This is a savory soup to cook up just in time for fall and utilize our Pressure Cookers to make enough for the whole family!
If you still feel unsure, there are so many outlets out there to help you with tips, tricks and recipes! We also have a YouTube channel and other helpful blog posts to help you get more familiar with your GoWISE USA product and find useful tips and recipes.
We appreciate every one of our customers and hope you found this post helpful with getting more familiar with your GoWISE USA Pressure Cooker and Heating Blender. And don’t forget to share your experiences and creations with our products using the #GoWISEUSA on all of our social channels or join our GoWISE Creations community on Facebook.
A big thank you to the authors of the recipes we tested out. Check out the links below to take a look at the original recipes.
https://simplifylivelove.com/instant-pot-pork-roast/
https://minimalistbaker.com/simple-berry-compote/
https://www.dadcooksdinner.com/pressure-cooker-new-york-cheesecake/
https://www.justapinch.com/recipes/dessert/cake/cheesecake-in-a-blender.html
