


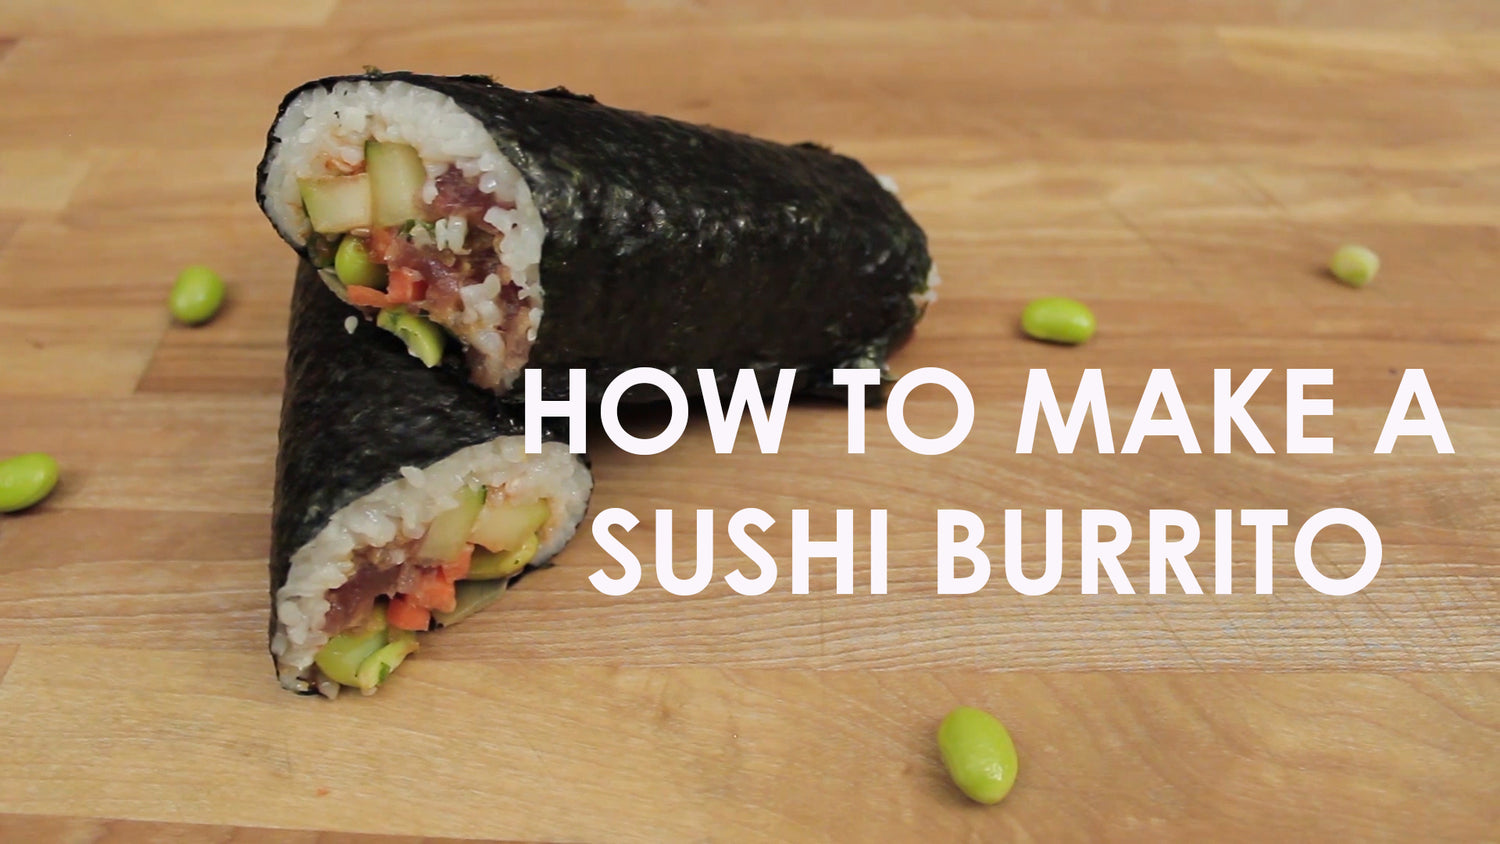
A sushi burrito? Made with a pressure cooker? Okay, let us explain. We decided that we really needed to make sushi burritos this week, so we used our pressure cooker to make the rice and made everything else by hand. Follow the recipe below to learn how to make delicious sushi burritos. We used tuna in ours, but you can use whichever filling you want!
Ingredients:
2 cups sushi rice
6 tbs rice wine vinegar
2 pinches of sugar
2 cups of water
15 oz. sushi grade tuna
2 tbs mayo
Green onions (to taste)
Sriracha (to taste)
Roasted seaweed sushi paper
Bamboo sushi roller
Plastic wrap
Carrots
Cucumber
Edamame
Pickled ginger
Wasabi
Instructions:
1. Prepare the rice. You'll need the sushi rice, rice wine vinegar, and sugar.
2. Pour rice into the pressure cooker pot and wash the rice until the water is clear.
3. Add 2 cups of water to the cleaned rice.
4. Use the manual setting and set pressure to high and cook for 8 minutes
5. Prepare the tuna! We made ours spicy, but that part is up to you!
6. Chop the tuna into cubes. Add in mayo, green onions, and sriracha to the tuna and keep chopping until mixed together real well.
7. Transfer the cooked rice into a large mixing bowl.
8. Add the rice wine vinegar and sugar. Combine well but be careful not to overwork it.
9. Transfer the rice to a cutting board and spread evenly.
10. Now, prepare the bamboo sushi roller. Grab the bamboo sushi roller and roll it in plastic wrap.
11. Then, grab the sushi paper and lay it out flat. Add the rice evenly first, then add the tuna and add the sushi fillings. We added carrots, cucumber, edamame, green onions, ginger, and wasabi.
12. Now use the roller to fold the sushi burrito in half, then use the other half of the roller to smush it all together. This part is tricky though. Watch the video to see how we did it!
13. Enjoy!